
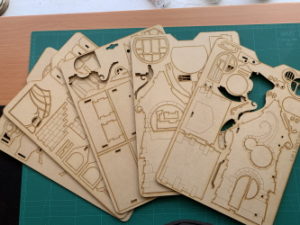
This is the kit. Five MDF sheets. To a sick little puppy like me, they are a work of art in themselves. I was reluctant to begin because it meant spoiling the look of the sheets. The dark spots in the photo are the holes where a piece should be. Remember those weeks I have spent watching YouTube. Well I got one very important tip from a guy called the Terrain Tutor. Laser cutting is ‘burning’. And what happens when you burn wood? You get ash. The result is, the boards have an invisible layer of MDF ash. This will interfere with your painting. So what was the wonderful tip I got from this man? Wipe the boards down before you start. Check out the photo of my wipe. Just a damp kitchen wipe (clean). I only used one side so you can see what came off the boards.
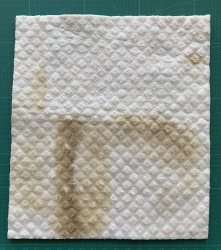
WIPE IT DOWN! Don’t forget.
You have already read that I started this project in March 2019. That was my ‘don’t look, just dive in‘ start. Completely out of sequence, I built the balcony.
That’s 9 pieces. In 5 weeks! ( “For 100 points, please define Procrastination“)
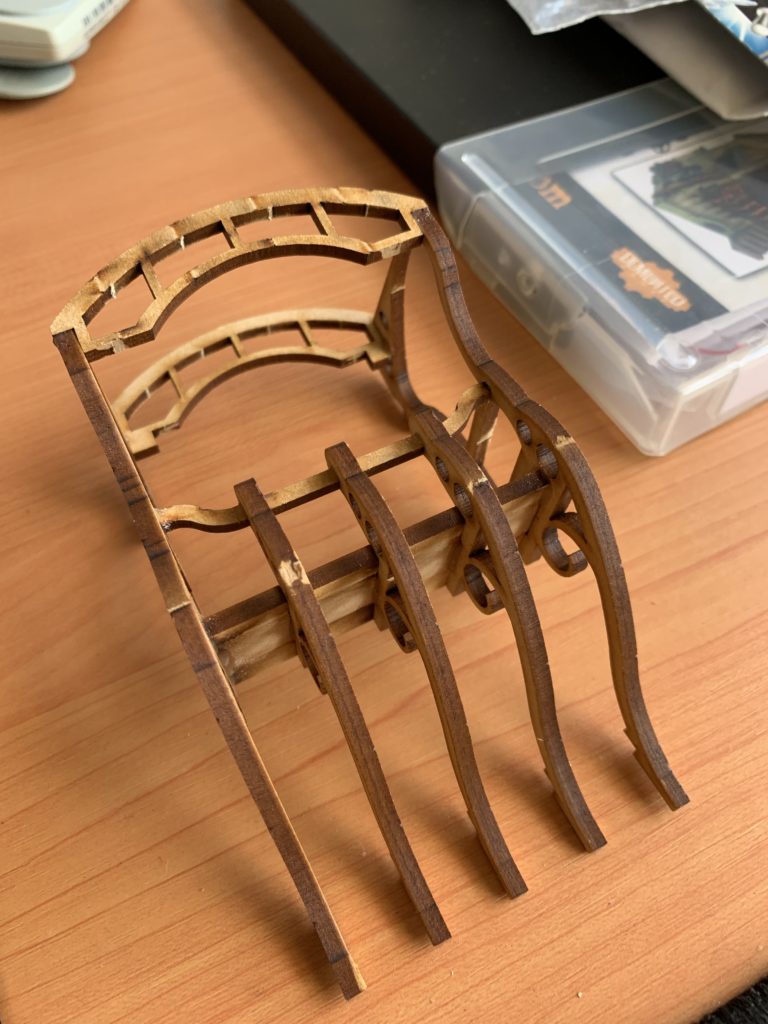
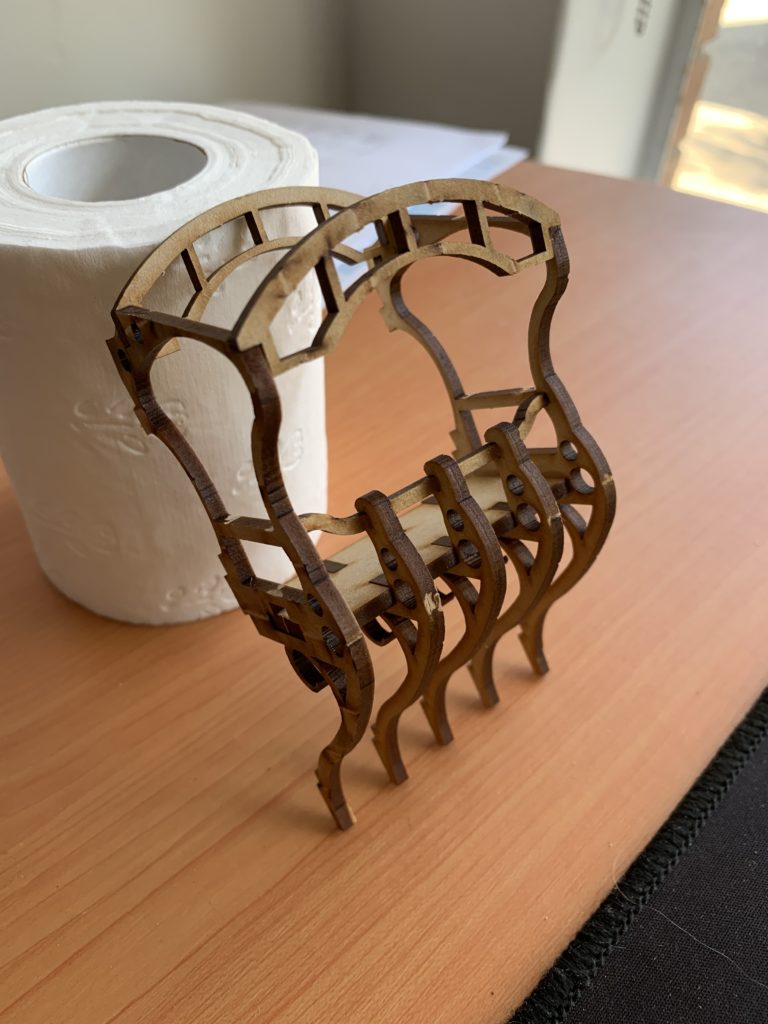
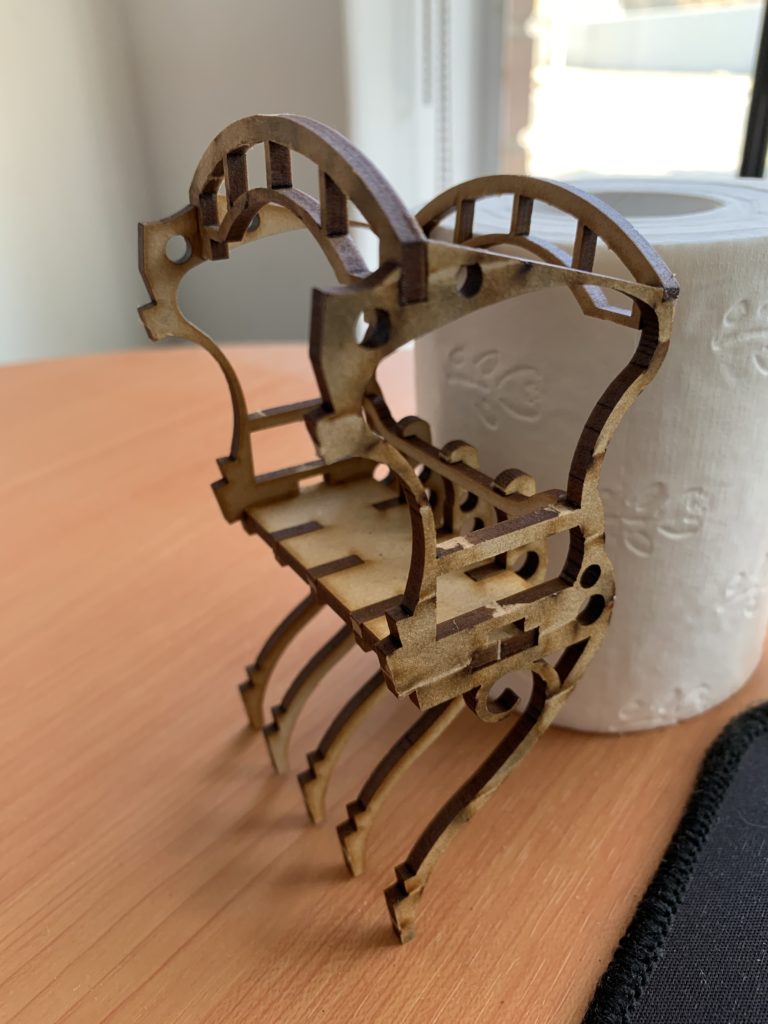
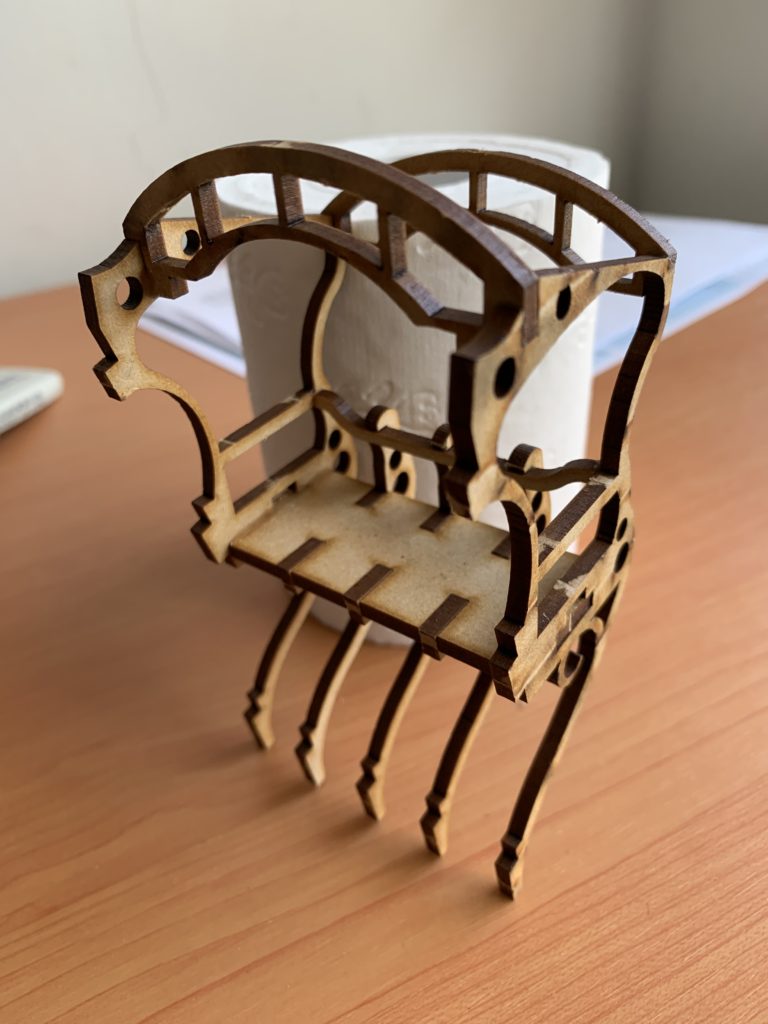
Look at the photos below and notice the brown, coffee stain, hue. This is the ‘scorching’ effect from the laser cutting. The dark brown is the inside surface of the laser cut. The ‘sepia’ look is the scorching on either side of the cut. Where a piece is small, narrow, like the support arches on top of the balcony, the scorching causes the whole piece to have the sepia, coffee stain look.
Instructions
Five MDF sheets. That’s all. No instructions. To get them you will have to go here, or there. (I recommend “there“) Download the PDF and print it yourself.
I have my copy (Instruction.PDF) but I recommend you get your own. I will not guarantee that mine is the latest version. I suppose you could just open the pages on your screen and work from there. Good luck with that!