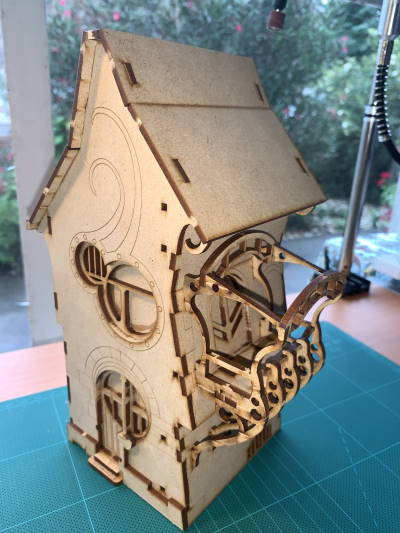
The four walls and roof
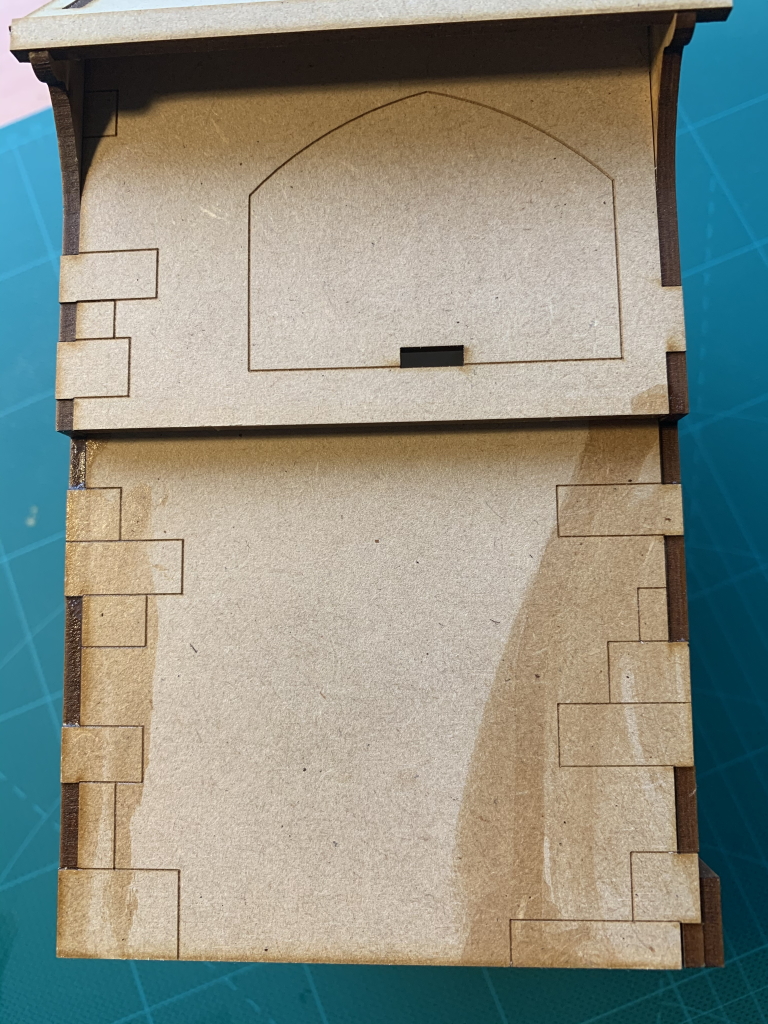
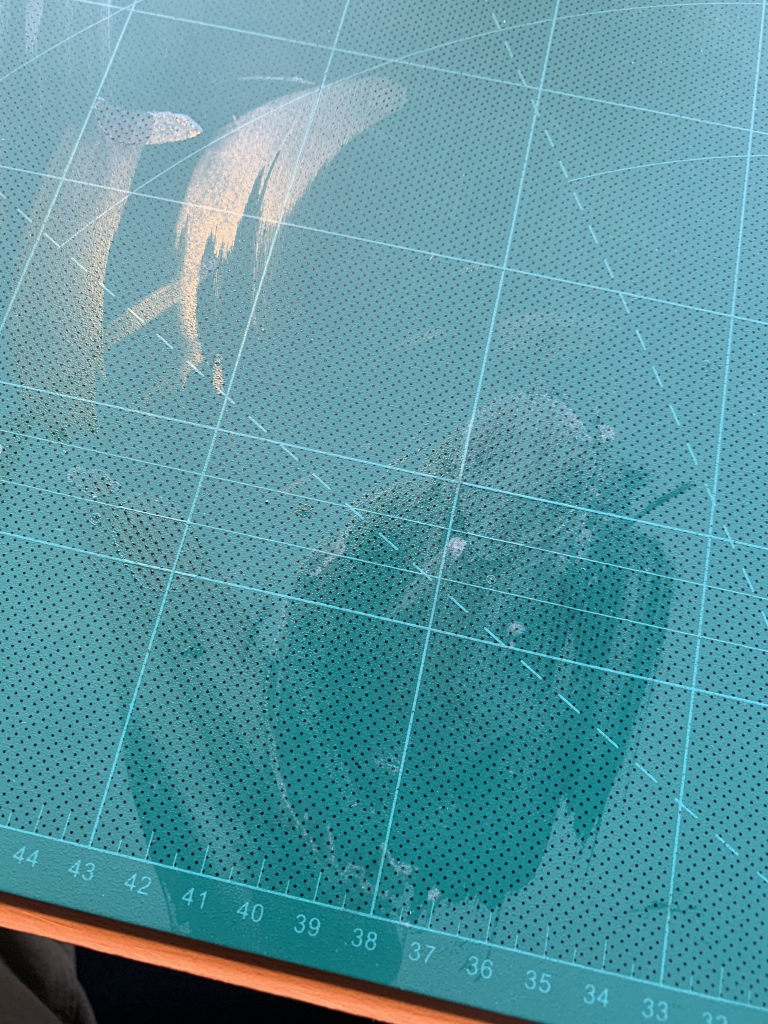
Plus, super glue stained walls, super glue splattered cutting mat, shaken confidence. Talk about newbie mistakes. I think I could have made it worse only if I did it blindfold. ‘Good enough’ has never been acceptable for me when a little extra care and attention can get perfect. Remember, I am not after a piece of gaming terrain. This is intended for display, in a living area, like a piece of pottery.
Am I being too ambitious? Expecting perfection with skills I have never practiced. I must not focus on the ‘failures’. I shall accept the little wins. I have leapt into a completely new media. I didn’t lose any skin. The model is still in one piece and almost square and actually looks like a house, bonus.
So back in the real world. Notice the whiter spots on the eaves? They are where the connector stubs were sanded off. In this ‘stage 1’, there is plenty of sanding but most of the spots have disappeared inside glued joints. And the balcony? I didn’t glue it on, just a dry fit to make sure the walls lined up correctly. It will come back off for the painting and I’ll mask the glue spots.
NOTE#1: The fit is indeed tight. One might say “Very tight!”. But it works. Do not give in to the temptation to sand the key points to make them slide in easier. When I build this kit again, the only thing I will do differently is to use PVA, white wood glue, to ‘paint’ inside the corners, and use a square to make sure the walls are true before I apply the glue.
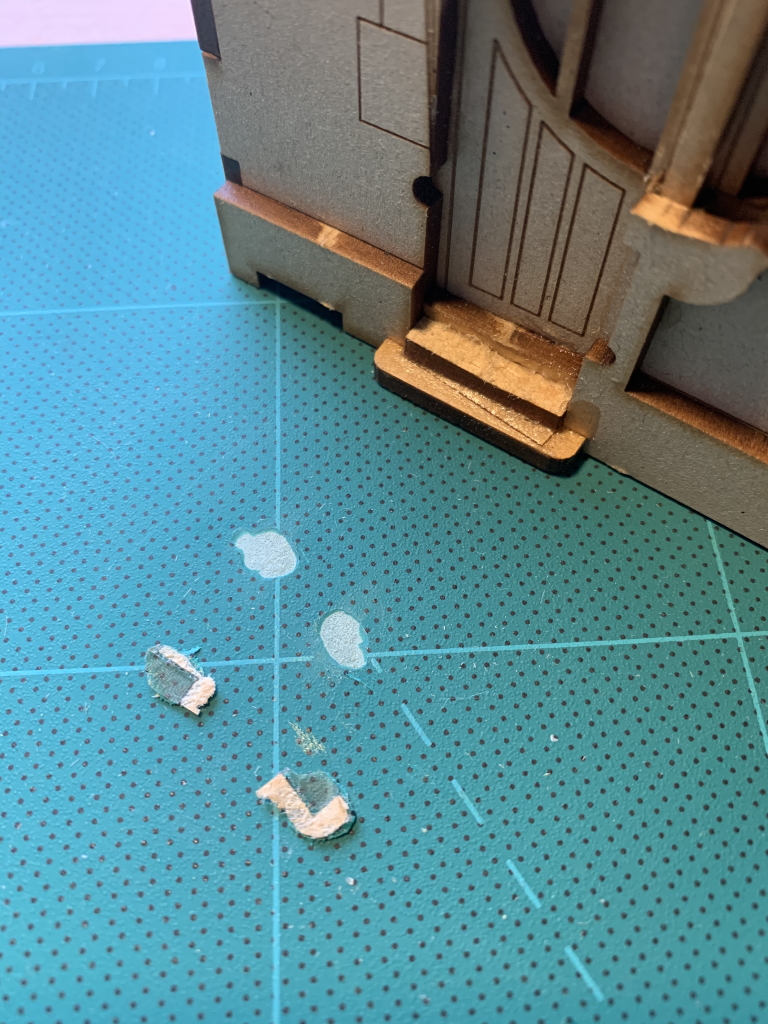
NOTE#2: Too much glue. Admittedly this was a real newbie mistake, but it doesn’t hurt to show the results. DON’T SQUEEZE THE TUBE TOO HARD! The gallery below shows the staining damage on the back wall, the mess on the cutting mat, the surface removed from the cutting mat when the house stuck to the mat, too much glue seeping from under the doorstep.