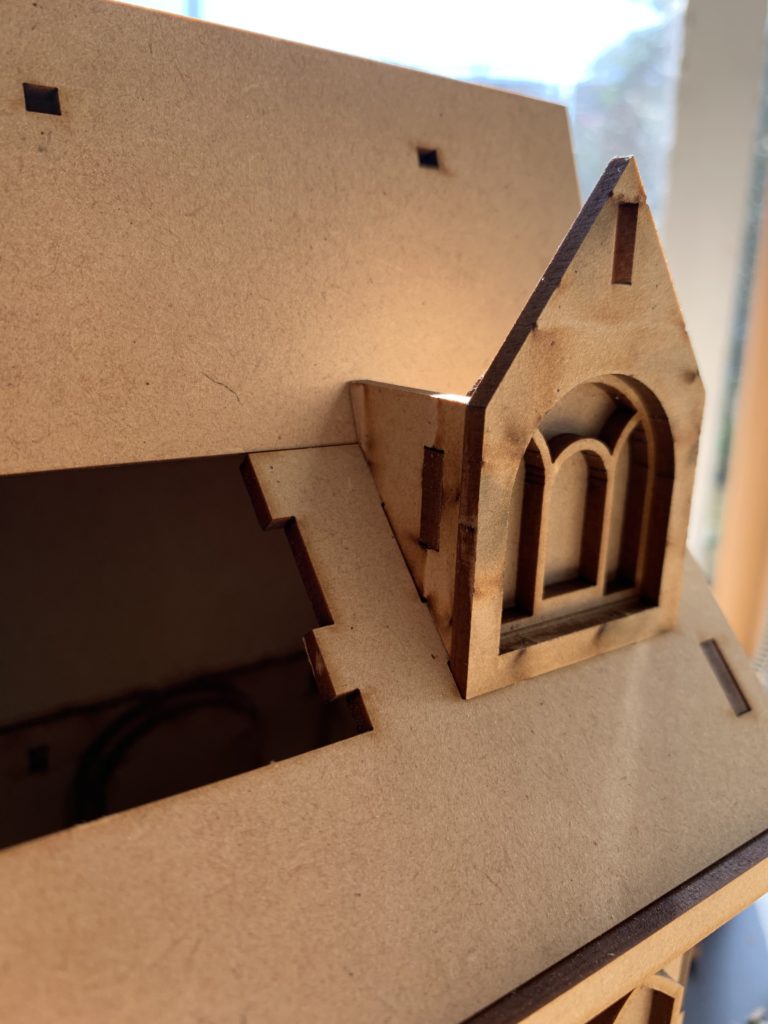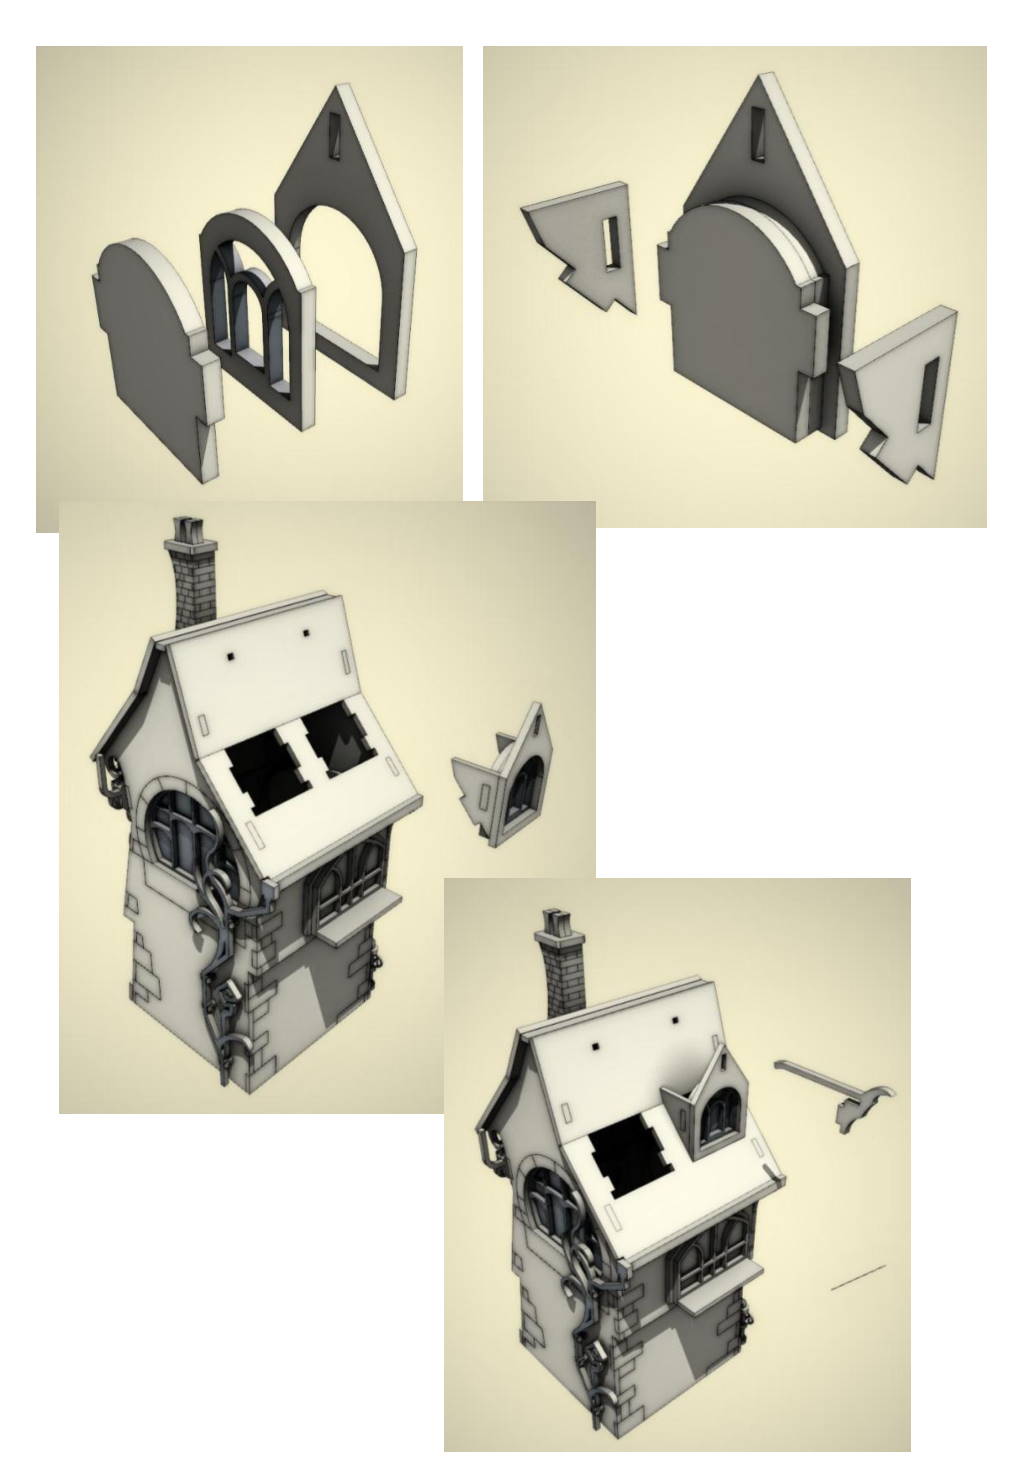
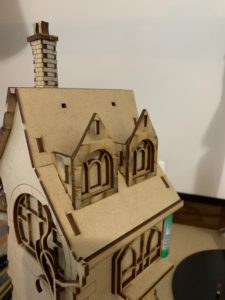
Attic Windows. I am making a huge assumption in gross ignorance. It looks like Carver Lane once came in two versions. “Normal” and “Deluxe”. The normal model finished with the chimney. The deluxe model has attic windows, a side entrance with stairs and a fancy door (I call the Vault). Sit back, relax, you have now entered the “Deluxe Zone”. Another optional stage is the application of roof tiles. The tiles are a separate kit. I have them and they will be instrumental in covering a multitude of my construction sins. Regardless, I will build these attic windows is if they are not going to be covered. This applies specifically to the apex, where the two roof sections meet the ridge. Remember, every edge on these MDF pieces is strictly right angles. More on that later.
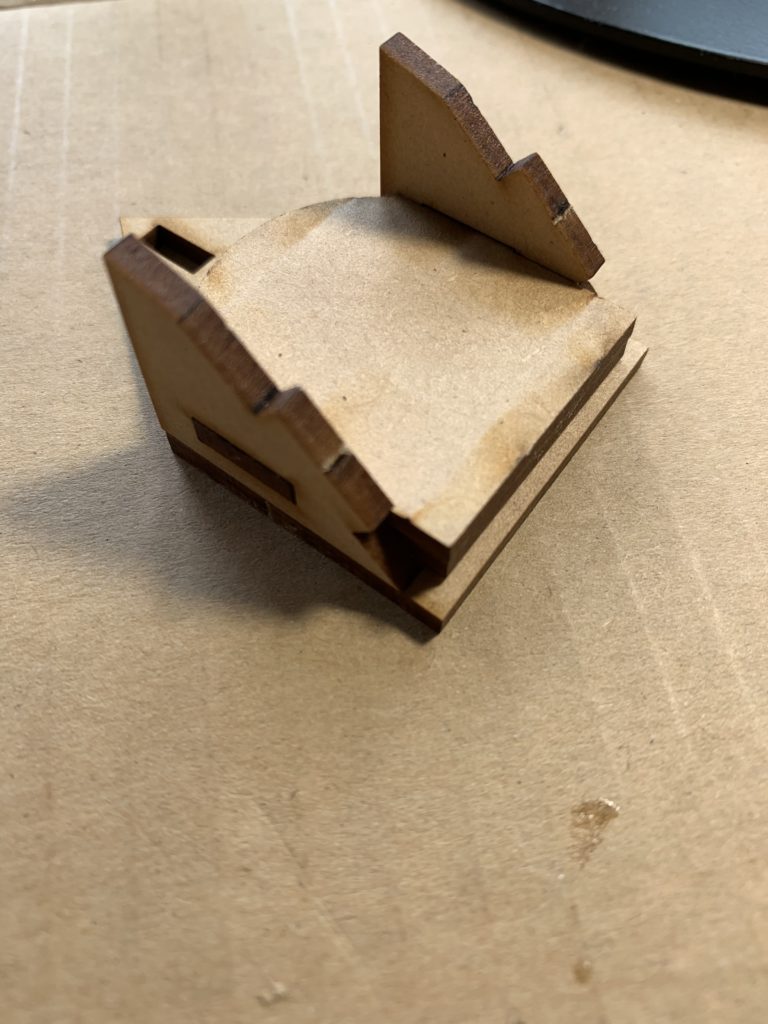
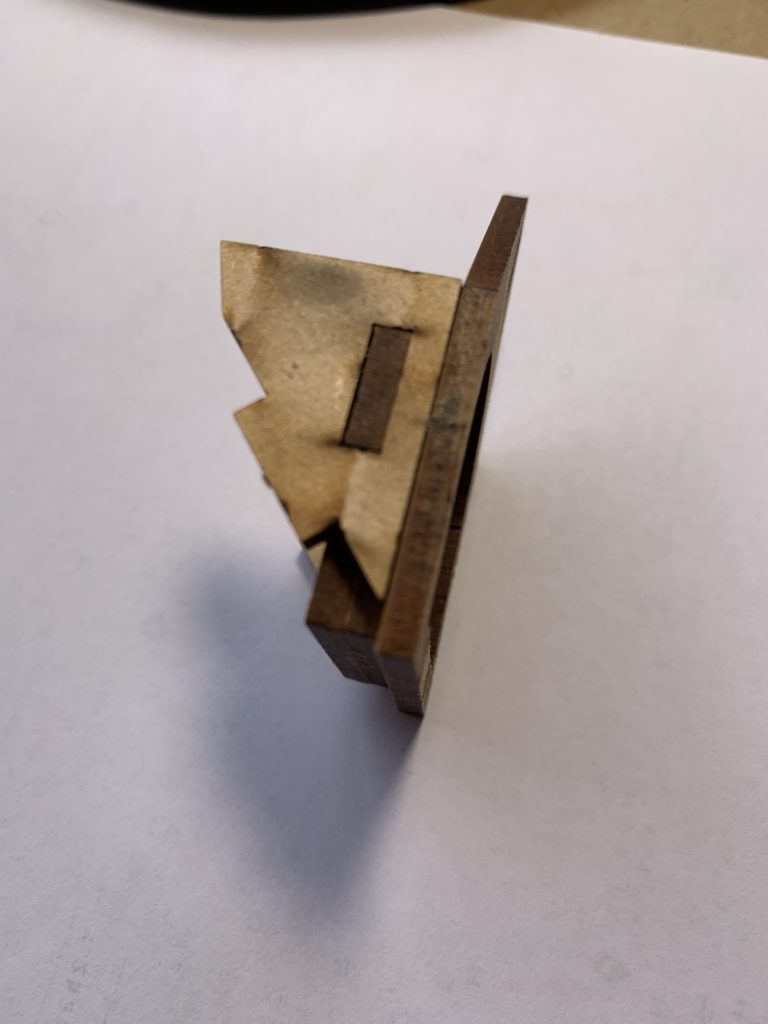
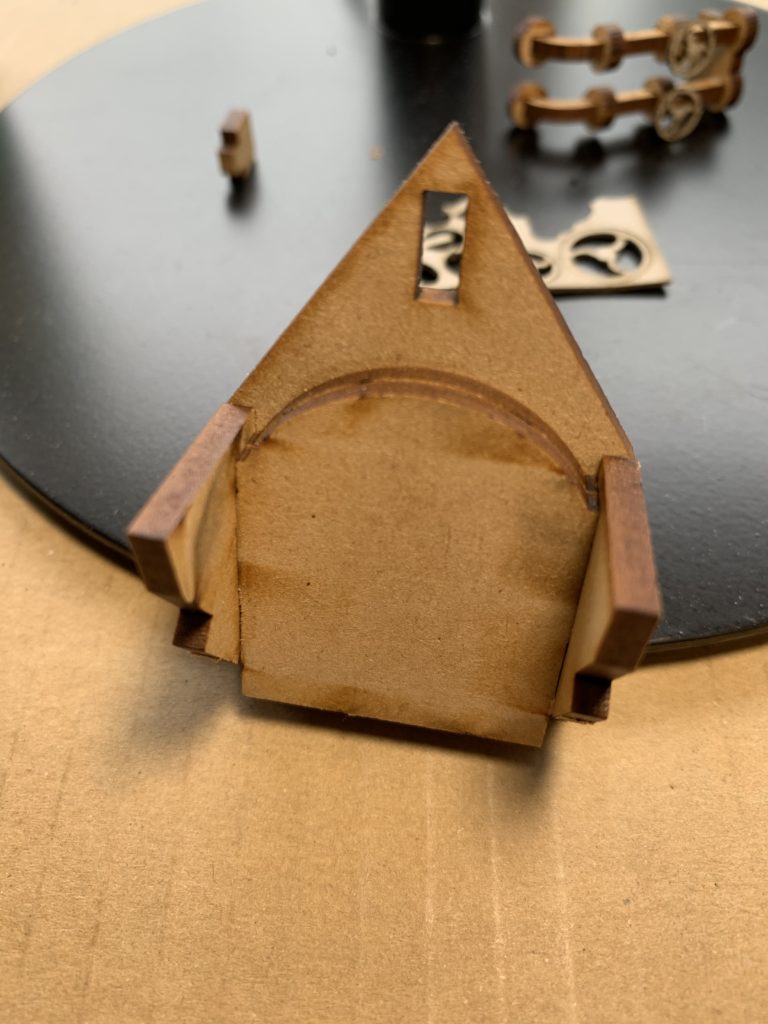
The illustrations in the instructions are wonderful but some parts do not match exactly the image on the page. Each attic window has 5 parts. A backing sheet, with locating keys. A window frame, a front wall and 2 side walls with locating slots. The illustrations appear to indicate you should join the backing sheet to the window frame to the front wall and the bottom edges should be aligned. Then you attach the side walls using the key slots. Seems simple and obvious, but no. The module will fit into the roof hole but the front wall will be too high. The ridge beam will not fit.
Glue the backing sheet to the window frame. They are the same shape and align easily. Attach the two side walls, make sure they are square. Now glue to the front wall aligning the top of the side walls with the top of the front wall sides.