
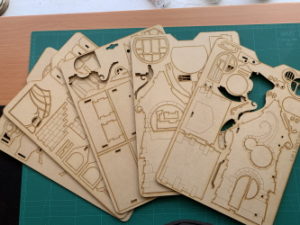
Popping the pieces out
The sheets are 1.5 mm thick and they feel sturdy. The larger pieces are relatively easy to pop out, the smaller and thinner pieces, not so easy. You can get brave, pick up a sheet and proceed to push the large pieces with your thumb. I’m sure that 99% of the time it will be fine and safe. But the 1% breakage is a beast to repair. Kerb your enthusiasm and get into the habit of using a bit of leverage. When ever possible, apply pressure on the waste mdf, the surround, not on the piece you are trying to remove. Put something under the sheet, under the piece you want to remove. I use an old CD/DVD. It is thick enough to allow the sheet to flex when I press around the piece I want to extract. You can use a coin, not too thin. In Australia I use a $1 coin or 50c coin.
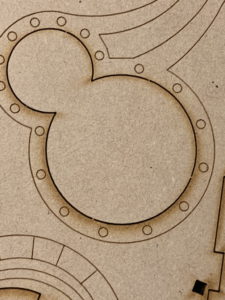
A circular shape ready to be popped out. This figure 8 shape will be removed and 2 circular windows inserted in its place. I will remove it using a small coin under the larger circle and pressing on it’s outside edge, the surround with the imprinted circles. If you look at the large circle as a clock face, you should see the tiny tabs, holding it in place, at approx 1:00, 4:00 and 7:00.
Smaller pieces. There are numerous small pieces in the kit. Some are long but delicate. The down pipes have a shape more reminiscent of an ivy tendril and there is a stair rail like a piece of lace work your grandma might have made. In yet another twist, there are pieces that contain other pieces to be removed. And they leave other thin lengths of MDF that can be broken. Oh the joy. But it is easily managed with care.
I will show some examples below and tell you how I got them out.
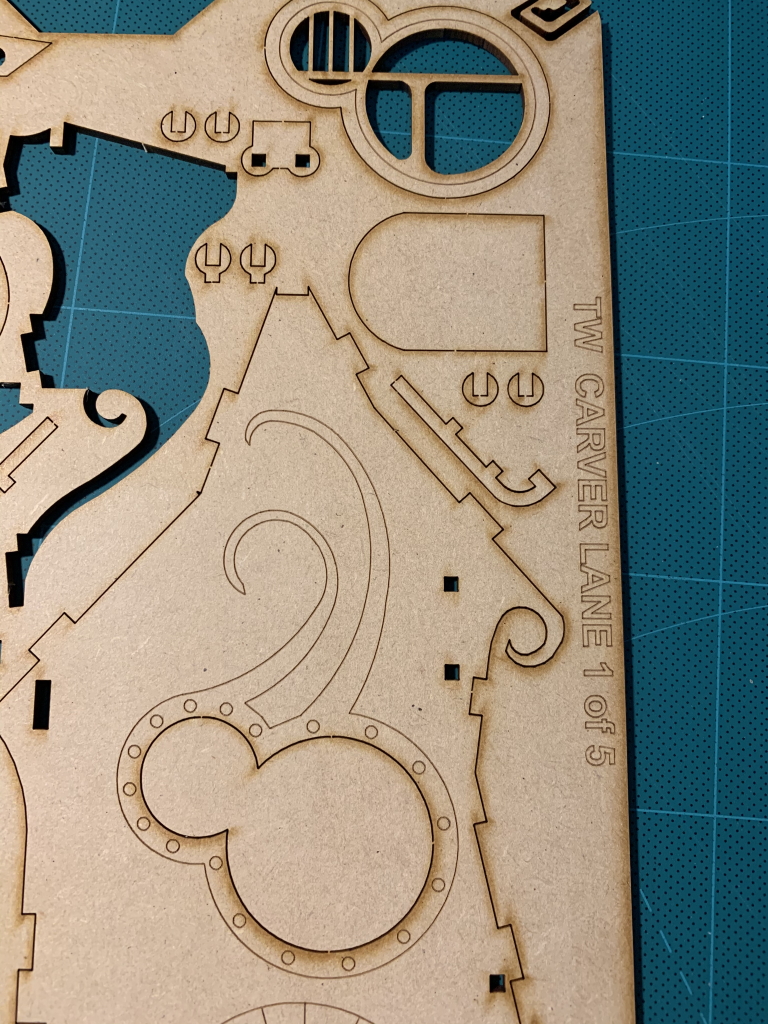
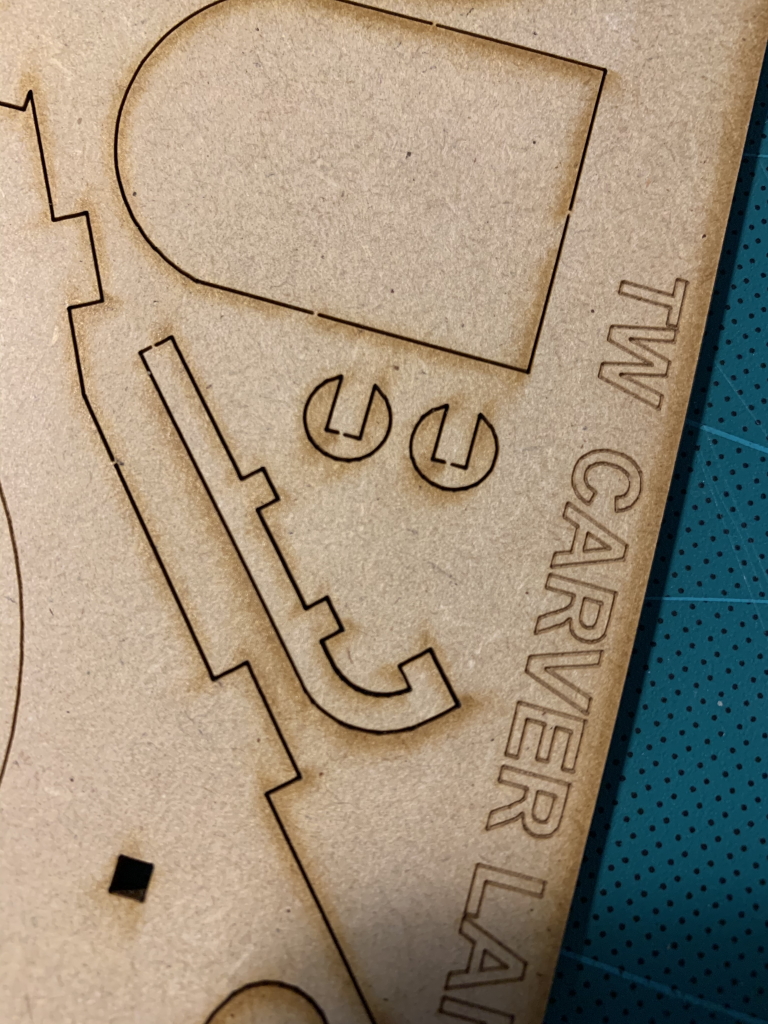
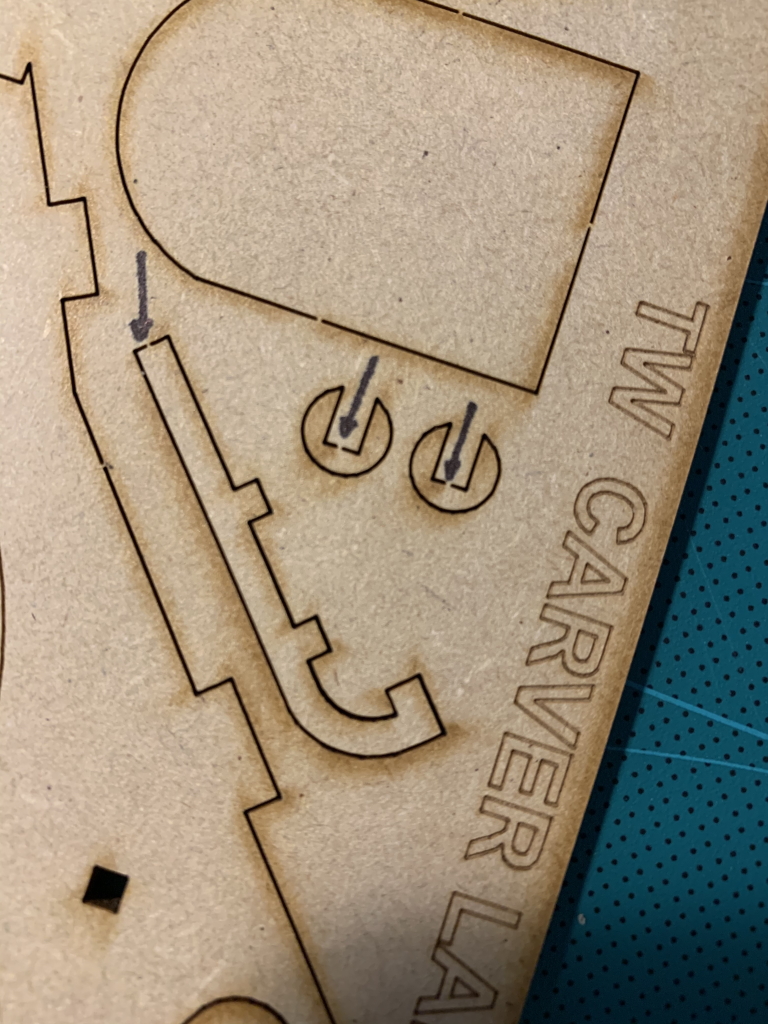
The photos above are perfect example of the small fittings you will find. See the last photo, on the right, or the bottom if viewed on a portable device. I used an arrow to show you the connecting points. All these pieces are too small to use finger pressure. The laser cut is too thin for an Xacto blade, so you cannot cut it out. On the long thin piece I used a ‘dead’ ball point pen, pushing gently on the point furthest from the connector. Once I saw it was pushing through I moved the point of the pen closer to the connector and kept pushing until the piece was pushed through.
The circular pieces were a lil’ bit tricky. They need pressure applied directly over the connector. I didn’t want to use the ball point pen for fear it would push a hole into the piece. I eventually found a long thin bolt in my tool kit and I tapped out the pieces. I didn’t like it, not one little bit.
The cut and fit of the pieces is amazing. So much so, you MUST file down or scrape off the burrs left from the connector tabs. Those teeny tiny burrs will prevent the pieces fitting tightly.